9 Code style guide
This style guide adapts the Tidyverse Style Guide and incorporates best practices from R for Data Science (2e) (R4DS), Data Management in Large-Scale Education Research, and other resources.
All staff who code in R should thoroughly read and consistently implement this style guide.
Using consistent project structures, naming conventions, script structures, and code style will improve code readability, reproducibility, and ease of collaboration.
Good coding style is like correct punctuation: you can manage without it, butitsuremakesthingseasiertoread…
All style guides are fundamentally opinionated. Some decisions genuinely do make code easier to use (especially matching indenting to programming structure), but many decisions are arbitrary. The most important thing about a style guide is that it provides consistency, making code easier to write because you need to make fewer decisions.
- Hadley Wickham in the Tidyverse Style Guide
9.1 Projects
Keep all files associated with a given project (input data, R scripts, analytical results, figures, reports) together in one directory. RStudio has built-in support for this through projects, which bundle all files in a portable, self-contained folder that can be moved around on your computer or on to other collaborators’ computers without breaking file paths.
Create a GitHub repository and commit the project folder for version control as discussed in Section 5.3. If not in a GitHub repository, the folder must be copied onto the shared drive.
Learn more about projects in the Workflow: scripts and projects chapter of R4DS, in Jenny Bryan’s article Project-oriented workflow, and Shannon Pileggi’s workshop slides.
Project folder structure
A consistent and logical folder structure makes it easier for you (especially future you) and collaborators to make sense of the files and work you’ve done. Well documented projects also make it easier to resume a project after time away.
The below structure works most of the time and should be used as a starting point. However, different projects have different needs, so add and remove subfolders as needed.
- root: top-level project folder containing the
.Rprojfile - data: contains raw and processed data files in subfolders. Raw data should be made read-only and not changed in any way. Review Section 5.2 for how to make a file read-only
- output: outputs from R scripts such as figures or tables
- R: R scripts containing data processing or function definitions
- reports: Quarto or RMarkdown files with the resulting reports
- README: markdown file (can be generated from Quarto or RMarkdown) explaining the project
See an example project folder structure
├── project-demo.Rproj
├── data
│   ├── processed
│   │   └── data-clean.csv
│   └── raw
│       └── data-raw.xlsx
├── output
│   ├── fig-01.png
│   ├── fig-02.png
│   ├── tbl-01.png
│   └── tbl-02.png
├── R
│   ├── 01_import.R
│   ├── 02_tidy.R
│   ├── 03_transform.R
│   ├── 04_visualize.R
│   └── custom-functions.R
└── reports
│   ├── soil-health-report.pdf
│   └── soil-health-report.qmd
│   └── images
│       └── logo.png
├── README.md
└── README.qmd
R packages, such as {washi} and {soils}, contain additional subfolders and files:
- inst: additional files to be included with package installation such as
CITATION, fonts, and Quarto templates. - man:
.Rd(“R documentation”) files for each function generated from {roxygen2}. - vignettes: long-form guides that go beyond function documentation and demonstrate a workflow to solve a particular problem
- tests: test files, usually using {testthat}
- pkgdown and docs: files and output if using {pkgdown} to build a website for the package
- DESCRIPTION: file package metadata (authors, current version, dependencies)
- LICENSE: file describing the package usage agreement
- NAMESPACE: file generated by {roxygen2} listing functions imported from other packages and functions exported from your package
- NEWS.md: file documenting user-facing changes
Learn more about other R package components in R Packages (2e).
Absolute vs relative paths
Directories and folders are used interchangeably here. If you’re interested in the technical differences, directories contain folders and files to organize data at different levels while folders hold subfolders and files in a single level.
❌ Absolute paths start with the root directory and provide the full path to a specific file or folder like C:\\Users\\jryan\\Documents\\R\\projects\\project-demo\\data\\processed.1 Run getwd() to see where the current working directory is and setwd() to set it a specific folder. However, a working directory set to an absolute folder path will break the code if the folder is moved or renamed
✅ Instead, always use relative paths, which are relative to the working directory (i.e. the project’s home) like data/processed/data-clean.csv. When working in an RStudio project, the default working directory is the root project directory (i.e., where the .Rproj file is).
{here} package
In combination with R projects, the {here} package builds relative file paths. This is especially important when rendering Quarto files because the default working directory is where the .qmd file lives. Using the above example project structure, running read.csv("data/processed/data-clean.csv") in soil-health-report.qmd errors because it looks for a data subfolder in the reports folder. Instead, use here to build a relative path from the project root with read.csv(here::here("data", "processed", "data-clean.csv")). This takes care of the backslashes or forward slashes so the relative path works with any operating system.
9.2 Naming conventions
“There are only two hard things in Computer Science: cache invalidation and naming things.”
— Phil Karlton
Based on this quote, Indrajeet Patil developed a slide deck with detailed language-agnostic advice on naming things in computer science.
R code specific naming conventions are listed below. Python and other programming languages have different conventions.
Project folder, .RProj and GitHub repository
Name the project folder, .RProj file, and GitHub repository name the same. Be concise and descriptive. Use kebab-case.
Example: washi-dmp and washi-dmp.RProj.
Files
Be concise and descriptive. Avoid using special characters. Use kebab-case with underscores to separate different metadata groups (e.g., year_good-name).
Examples: 2024_producer-report.qmd, tables.R, create-soils.R.
If files should be run in a particular order, prefix them with numbers. Left pad with zeros if there may be more than 10 files.
Example:
01_import.R
02_tidy.R
03_transform.R
04_visualize.R
Variables, objects, and functions
Variables are column headers in spreadsheets (that become column names in R dataframes), objects are data structures in R and ArcGIS (vectors, lists, dataframes, fields, tables), and functions are self-contained modules of code that accomplish a specific task.
Variable examples:
# Good
clay_percent
min_c_96hr_mg_c_kg_day
pmn_mg_kg

# Bad

# Uses special character
clay_%

# Less human readable, inconsistent with style guide,
# starts with number and will error in R
96hrminc_mgckgday

# Hyphen will need to be escaped in R code to avoid error
pmn-mgkg
Objects and functions
Objects names should be nouns, while function names should be verbs (Wickham 2022). Use lowercase letters, numbers, and underscores. Do not put a number as the first character of the name. Do not use hyphens. Do not use names of common functions or variables.
Object examples:
# Good
primary_color
data_2023

# Bad

# Less human readable, inconsistent with style guide
primarycolor

# Using a hyphen in an object name causes error
data-2023 <- read.csv("2023_data-clean.csv")
Error in data - 2023 <- read.csv("2023_data-clean.csv") :
could not find function "-<-"

# Starting an object name with a number also causes error
2023_data <- read.csv("2023_data-clean.csv")
Error: unexpected input in "2023_"

# Overwrites R shortcut for TRUE
T <- FALSE

# Overwrites c() R function
c <- 10
Function examples:
# Good
add_row()
assign_quality_codes()

# Bad

# Uses noun instead of verb
row_adder()

# Inconsistent with style guide
assignQualityCodes()

# Overwrites common base R function
mean()
9.3 R scripts
Header template
Headers in R scripts standardize the metadata elements at the beginning of your code and document its purpose. The following template and instructions are adapted from Dr. Timothy S Farewell’s blog post (Farewell 2018).
- Script name: meaningful and concise
- Purpose: brief description of what the script aims to accomplish
- Author(s) and email: name and contact if there are any questions
- Date created: automatically filled in from the template
- Notes: space for thoughts or to-do’s
## Header ======================================================================
## Script name: check-crops.R
##
## Purpose: Cross reference sample requests, Field Maps forms, and management
## surveys to get the correct crop planted at the time of sampling.
##
## Author: Jadey Ryan
##
## Email: jryan@agr.wa.gov
##
## Date created: 2024-01-02
##
## Notes:
##

# Attach packages ==============================================================

library(readxl)
library(writexl)
library(janitor)
library(dplyr)
library(tidyr)

# Load data ====================================================================
Add this template to RStudio using snippets:
- Modify the below code with your name and preferred packages.
- In RStudio, go to
Tools>Edit Code Snippets. - Scroll to the bottom of the R code snippets and paste your modified code (the indent and tabs are important!).
- Click
Saveand close the window. - Try opening a new blank
.Rscript, typing “header”, and then pressingShift+Tab.
snippet header
    ## Header ======================================================================
    ##
    ## Script name:
    ##
    ## Purpose:
    ##
    ## Author: Jadey Ryan
    ##
    ## Email: jryan@agr.wa.gov
    ##
    ## Date created: `r paste(Sys.Date())`
    ##
    ## Notes:
    ##

    # Attach packages ==============================================================

    library(readxl)
    library(writexl)
    library(janitor)
    library(dplyr)
    library(tidyr)

    # Load data ====================================================================
Section template
The above header template also uses section breaks (e.g., commented lines with = that break up the script into easily readable chunks). Section breaks are a fantastic tool in RStudio because they allow you to easily show or hide blocks of code, see an outline of your script, and navigate through the source file. Read more about code folding and sections in this Posit article.
The snippet to create this section template that fills in the rest of the line with = or - was adapted from this stack overflow answer.
snippet end=
    `r strrep("=", 85 - rstudioapi::primary_selection(rstudioapi::getActiveDocumentContext())$range$start[2])`

snippet end-
    `r strrep("-", 85 - rstudioapi::primary_selection(rstudioapi::getActiveDocumentContext())$range$start[2])`
After adding the above code to your snippets, try creating a new section by typing “# Tidy data end=” then pressing Shift + Tab.
# Tidy data end=<Shift+Tab> results in:
# Tidy data ====================================================================9.4 Code styling
Review the Syntax chapter of the Tidyverse Style Guide for details on spacing, function calls, long lines, semicolons, assignments, comments, and more. For the opinionated “most important parts of the Tidyverse Style Guide,” skim through Chapter 4 Workflow: code style in R4DS. Instead of including each detail in this style guide and memorizing the content, use the {styler} package (as advised in R4DS Chapter 4).
{styler} includes an RStudio addin that automatically formats code, making the style consistent across projects. We deviate slightly from the Tidyverse Style Guide and instead use {grkstyle}, an extension package developed by Garrick Aden-Buie, that handles line breaks inside function calls and indentation of function arguments differently. See the readme for examples.
Set up {styler} and {grkstyle}
Install {styler} and {grkstyle} with:
install.packages("styler")

options(repos = c(
    gadenbuie = "https://gadenbuie.r-universe.dev",
    getOption("repos")
))

# Download and install grkstyle in R
install.packages("grkstyle")
Set grkstyle as the default in {styler} functions and addins with:
# Set default code style for {styler} functions
grkstyle::use_grk_style()
or add the following to your ~/.Rprofile:
options(styler.addins_style_transformer = "grkstyle::grk_style_transformer()")Access your .Rprofile with usethis::edit_r_profile() to open the file in RStudio for editing. You may need to install the {usethis} package.
Use {styler} and {grkstyle}
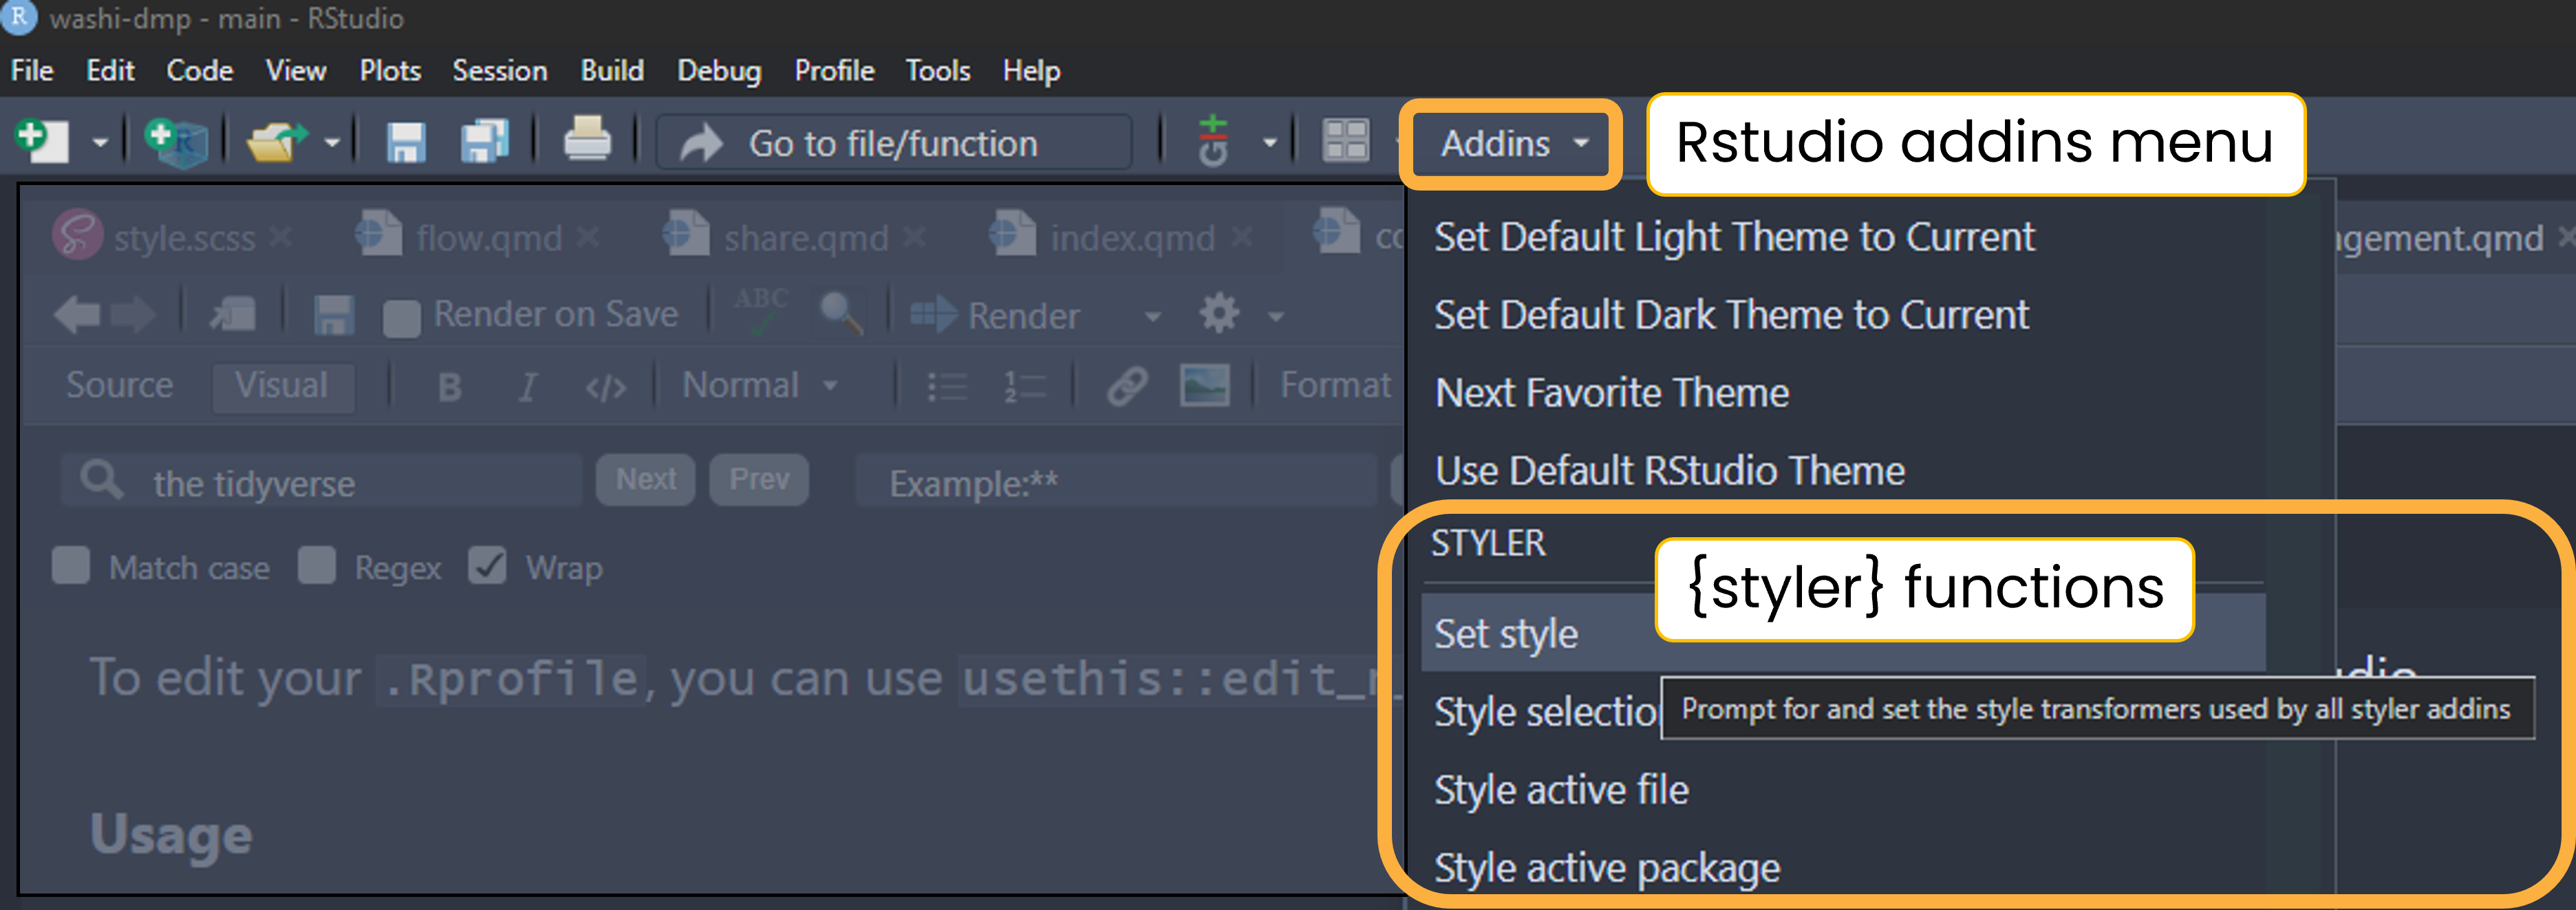
Once installed, apply the style to .R, .qmd, and .Rmd files using the command palette, keyboard shortcut, or addins menu.
Command palette
Use RStudio’s command palette to quickly and easily access any RStudio command and keyboard shortcuts. Open the command palette with Cmd/Ctrl + Shift + P then type “styler” to see its available commands and shortcuts.
Keyboard shortcuts
Use Cmd/Ctrl + Shift + A to style the entire active file. We recommend styling the entire active file after finishing each code block or section. To style just a selection, use Cmd/Ctrl + Alt + Shift + A.
Set up and use {air}
{air} is an R formatter that is even faster and more automatic than {styler}. It needs to be installed through the command line interface (see installation instructions) then configured in RStudio (see configuration instructions. It can be set to reformat documents on save. The downside to {air} over {styler} is that it does not currently work on Quarto (.qmd) files.
Note the two backslashes. Windows paths use backslashes, which mean something specific in R. To make Windows paths with backsplashes work, replace them with two backslashes or one forward slash.↩︎


